It’s a common known fact that remodeling your kitchen is the number one way to add value to your home. Home staging experts say that a newly remodeled kitchen appeals to home buyers emotions and homeowners wallets, because a good kitchen renovation can bring you back 100 percent of your investment, when selling your home.
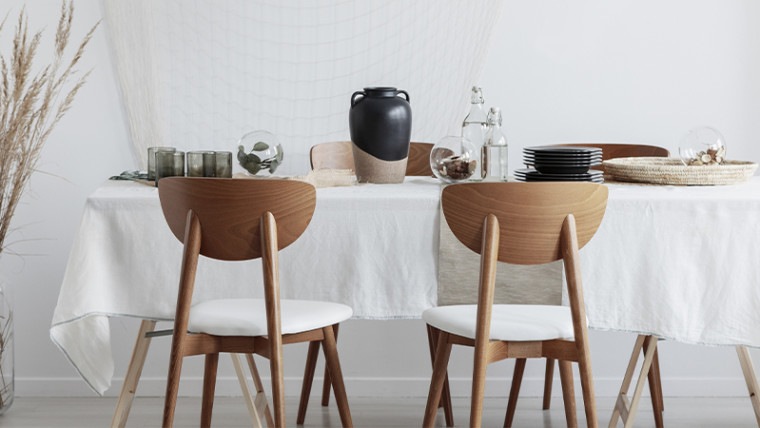
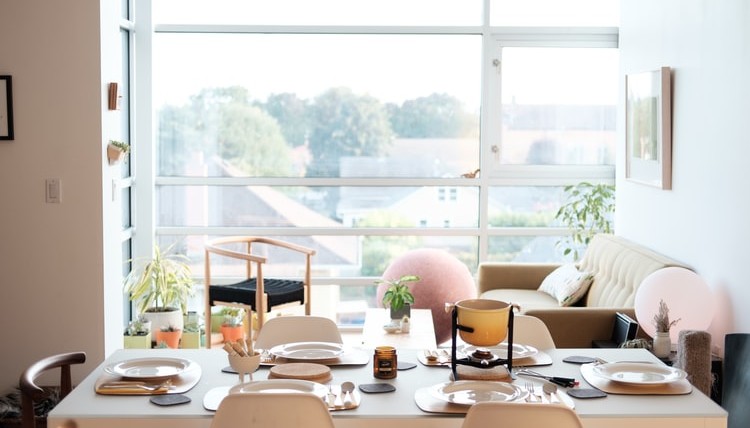
While most homeowners would love an extra $20,000 – $40,000 to throw into a brand new kitchen renovation, most of us just don’t have that kind of money. But if you’re willing to put in a little time and elbow grease, then there are some big improvements that you can make on your own to give your kitchen quite the face lift. One of the biggest, is updating your cabinetry. Freshly painted and updated cabinets can really make a huge difference in the feel and look of an outdated kitchen.

Simply adding crown or decorative molding to ‘shape out’ your plain kitchen cabinets, can make your space appear more modern and up-to-date.
Repainting your cabinets a bright fresh color can also add visual interest and brighten up a dark space. Listed below are the 10 basic steps to take when attempting to paint kitchen cabinets on your own.
10 Basic Steps to Painting Cabinets:
-
- Remove everything from cabinets and clear out all appliances that may get in your way during the painting process. Make sure to protect all exposed surfaces with Rosin paper or plastic to keep them free of paint splatters or over spray.
- Remove cabinet doors and drawer fronts from their hinges and find a warm, dry environment to set them up for ideal painting and drying time.
- Remove dirt, residue, or waxy buildup with a powerful household cleaner or liquid deglosser.
- Dull glossy surfaces further with 150-grit sandpaper.
- Take a lint-free damp cloth and wipe down any excess dust that remains on the sanded cabinets.
- Use quality spackle to fill in any gaps or unwanted existing hardware holes in your cabinets. Let dry completely and then sand smooth and remove any leftover dust.
- Cover cabinets with a high-quality stain-blocking primer and then lightly sand the surface to remove any brush marks or drips. Let dry completely.

Coat cabinets with a latex or oil based paint using a non-textured roller and brush or sprayer. Sanding lightly with fine sandpaper and then wiping down with tack cloth between coats to ensure a smooth, dust-free surface each time you apply another layer of paint.
-
- Make sure to let each coat of paint dry thoroughly before sanding and reapplying the next coat.
- For extra durability, finish off cabinets with two coats of clear, non-yellowing polyurethane.
Another route that has been created for the DIY cabinet painter is the Rust-Oleum Cabinet Transformations kit. A complete kit with all of the products you’ll need to give your existing cabinets a fresh new look!
Painting or updating cabinetry in any form proves again and again to be the best way to invest your money when deciding on where to spend your budget for a kitchen renovation. Whether you hire out the work or attempt it yourself, the design and look of your kitchen cabinets can really make a huge difference in your homes overall likability factor and value, especially when thinking about listing your house on the market.