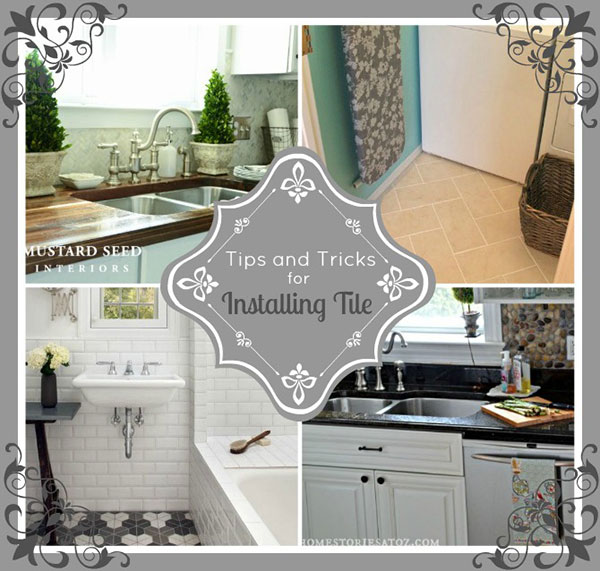
Learning how to install tile properly opens up a myriad of money-saving opportunities for the ambitious DIY’er. If you are thinking about taking a sledge hammer to that avocado green tile in your guest-bath, this post is for you! Today we will explore five tips that every beginner needs to consider when tackling a tile installation.
1. Purchase and Play with Your Tiles
When purchasing your tile, make sure the boxes have the same lot number. This will better ensure that the coloring on all tiles is uniform. Another great tip is to pull your tile from different boxes while tiling so that any slight color variations will not be noticeable. It’s also a great idea to map out your tile placement before you begin. You can lay your tile in a brick or square pattern, or on the diagonal. The pattern of tile is a matter of choice and preference but a brick pattern is often found easiest. Use a level, chalk line, and t-square to map out your project. Your goal is to use as many whole tiles as possible and to avoid needing any sliver cuts of tile to fill in gaps. Play with your tiles and have fun figuring out how you’d like your end project to look.

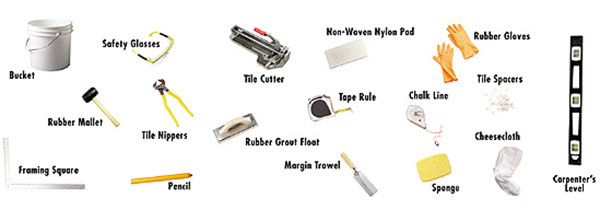
2. Acquire the Proper Tools
Let’s assume you have demoed your space, sunk all the nails in the sub-floor, and/or hung the appropriate backer board. Be sure to take off your moldings and doors before you begin, and you are now ready to tile! Well, almost ready. Having the right tools for the job is imperative. Below is a great list of things you will need for tile installation. Before you mix any mortar, think through how you will move in your space as you are working. You don’t want to have to walk across the room to pick up a new tile each time, so be sure to keep your supplies close at hand but also out of the way of the space you are tiling. Once you mix your mortar you will need to work fairly quickly, so it is important that you have a plan of attack! Cutting your tiles is by far the trickiest part of tiling so become comfortable with using a wet saw and make practice cuts on tiles before installing.
3. Mix Your Mortar and Apply Tiles
If you are mixing your mortar yourself, you will want to save yourself some trouble by purchasing a “whisk attachment” for your drill. This attachment will help you get your thinset to the proper consistency for application. There is a lot of debate as to whether or not you should only apply mortar to the flooring or wall, or if you should “butter” your tile as well. Your goal is to have a smooth surface of thin-set that the entire tile will adhere to. If the tile is not completely adhered to the surface, then you risk it popping up in the future. Tiles should be pounded in place once adhered. A few taps with a rubber mallet works well for this job. Place spacers between your tiles to ensure they are evenly spaced apart.

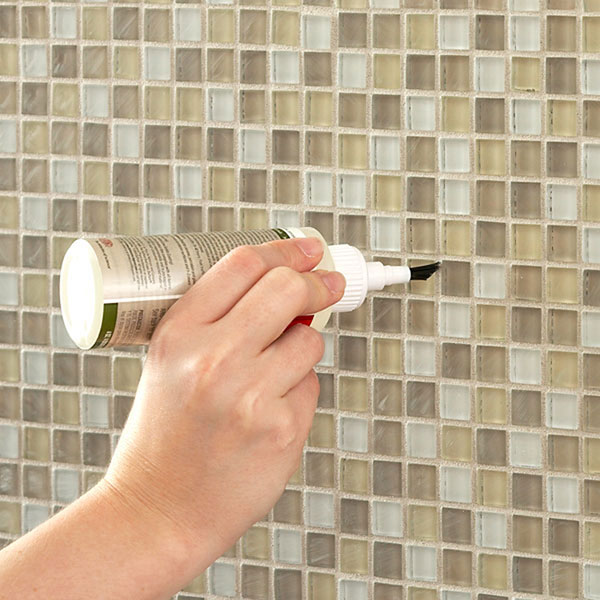
4. Grout Your Tiles
You cannot judge a tile job until you have seen it grouted! Grouting makes everything better. It hides any chipped tile imperfections and beautifies the entire space. However, choosing the perfect grout color can be almost as difficult as choosing a tile. Pick a color that compliments the tile, decor of the room, and your lifestyle. To apply grout, you will need a grouting rubber float to smooth the grout into the cracks and crevices. Honestly, I find my fingers very useful for this task as well. Wear rubber gloves and don’t be afraid to get a bit messy! A damp sponge is then needed to wipe off all the excess grout on the tile. This is a tedious job because the sponge will need to be washed and wrung out repeatedly. In the end, it will be worth all of the effort. After the grout has set a bit, go back over all of your tile with a clean rag and scrub off any grout haze that is left on the tile.

5. Seal Your Tiles
After all of that hard work is finished, it is time to protect it! Most tiles are not porous but your grout is and will absorb water and stains if not properly sealed. Sealing the grout is something that should be done every year or so to keep your grout looking new. Follow your manufacturer’s labels to determine what type of sealer to use and to establish a sealing schedule.
Installing tile is a laborious job that takes time, patience, and energy to accomplish. You can expect to save yourself hundreds of dollars by learning to tile yourself. If you’re nervous about tiling for the first time, I recommend starting with a small project such as a back-splash or tub border to get the hang of it. Once your confidence and skills grow, you will be ready to tackle any tiling job necessary in your home!