Homes.com is excited to bring you another winning project from the Creating with the Stars contest we had the pleasure of sponsoring. We are in awe of Sarah’s, from Sarah M. Dorsey Designs, out of the box thinking for this light fixture. You’re not going to believe what she used to make this DIY statement decor piece. See how you can make a similar piece for your space with this step by step tutorial from Sarah:
Walking through Habitat ReStore I spotted a few egg crate diffusers. It’s the last lighting fixture I would consider for a project, but then I began thinking how neat it would be to use the grid to create any square geometric shape that I wanted. At $2 each, what could I lose?

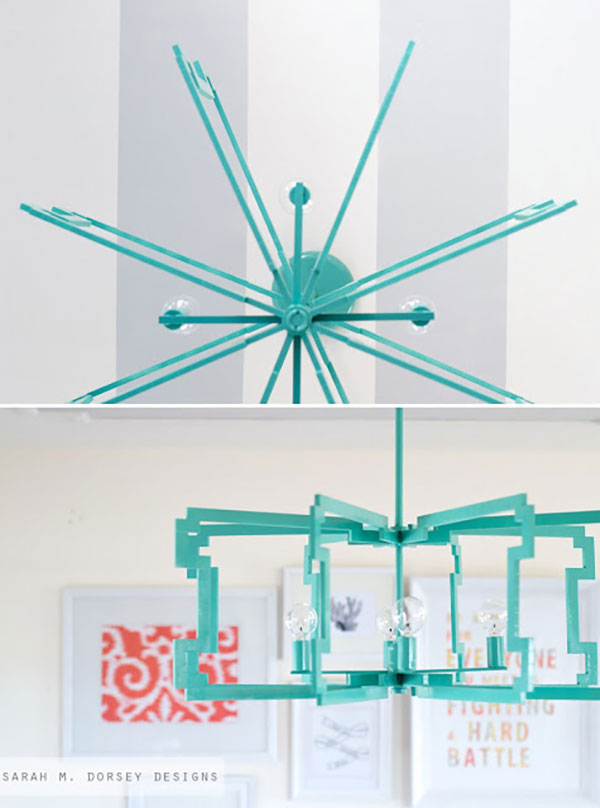
Browsing Pinterest I found this amazing light, Lolita – Shine by SHO and fell in love with the arms. It’s lines are simple, but make a big impact! Perfect for a statement piece!

Once we decided on the shape, we measured and marked the edges with a permanent marker. The egg crate diffuser was cut into the shape of the arms with small clippers (clipping as close to the edge as possible).
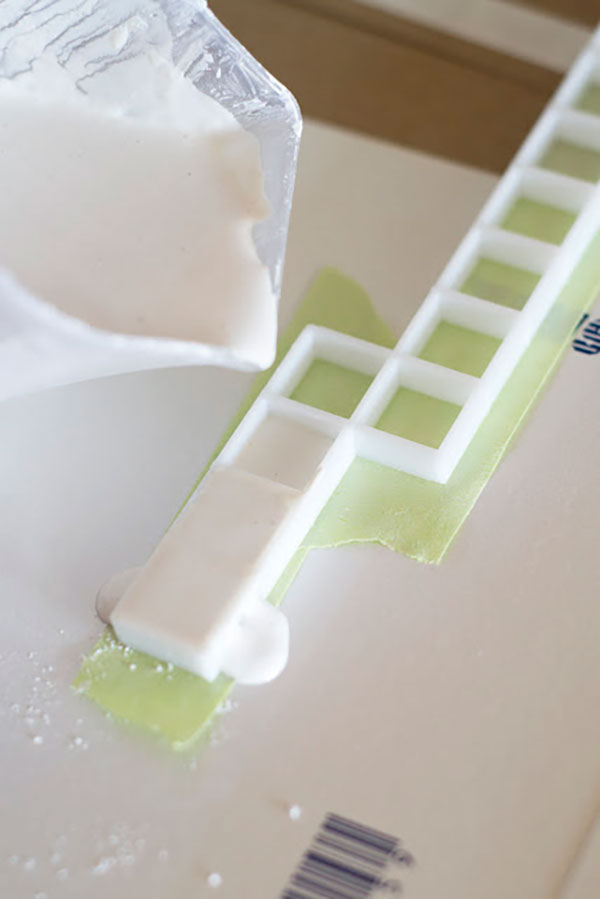
Next we taped the bottom with painters tape and filled with plaster of paris (mixing it on the thinner side so that it would level itself at the top). You want it as level as possible to reduce sanding. Any excess was leveled off with a spackle knife.
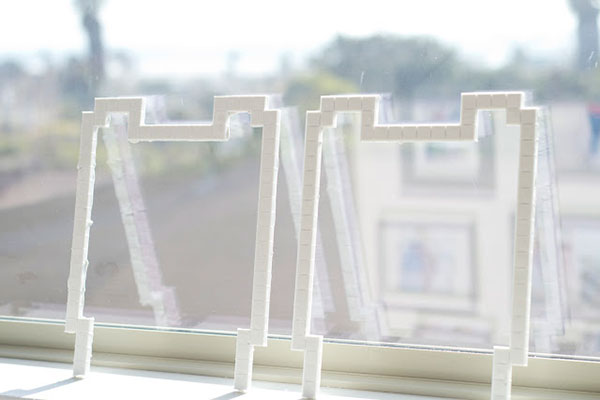
Once firm, they were placed in the sun to fully cure (I ended up letting it sit overnight)
Then excess was sanded off. Some of the squares fell out during sanding, so I used a little craft glue to get them back in place. Then I patched the imperfections with drywall spackle and sanded again once dry. This part was pretty messy – so I was definitely glad to be done with sanding!
We wanted a simple fixture so that it wouldn’t compete with the arms. Looking through thrift shops, all we could find were ones with curves (very ’80s) we needed something more mid-century modern. So we ended up building our own electrical housing out of old chandelier parts, PVC, and brass tubing.
Here’s how we did it:
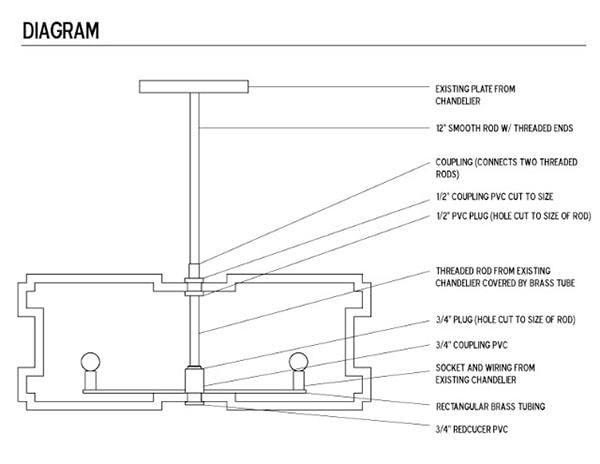
Honestly, this wasn’t the easiest task, but definitely doable. It required modifying (mostly cutting holes in the PVC) so that all the parts would fit snugly.
To assemble all of the pieces we used Gorilla Glue Epoxy
We followed the directions by mixing equal parts of the resin and the hardener (in small batches so it wouldn’t harden too fast). This stuff worked SO well! It set up fairly quickly and was SUPER strong!

All parts were lightly sanded to remove any gloss, and dust was removed with a microfiber cloth. Then it was primed, and painted with Sherwin William Rivulet (2 coats).
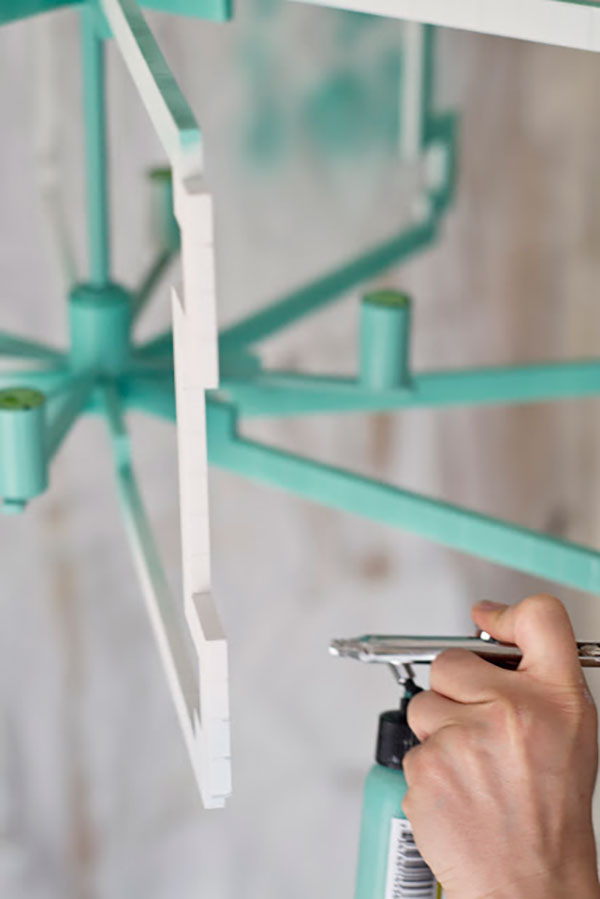
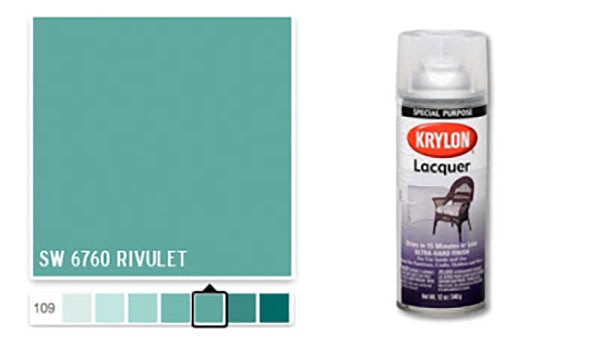
We finished it off with 2 coats of Krylon Lacquer to give it a super glossy finish.
Turning off the electricity first, we installed the light and held our breath as we flipped the switch.
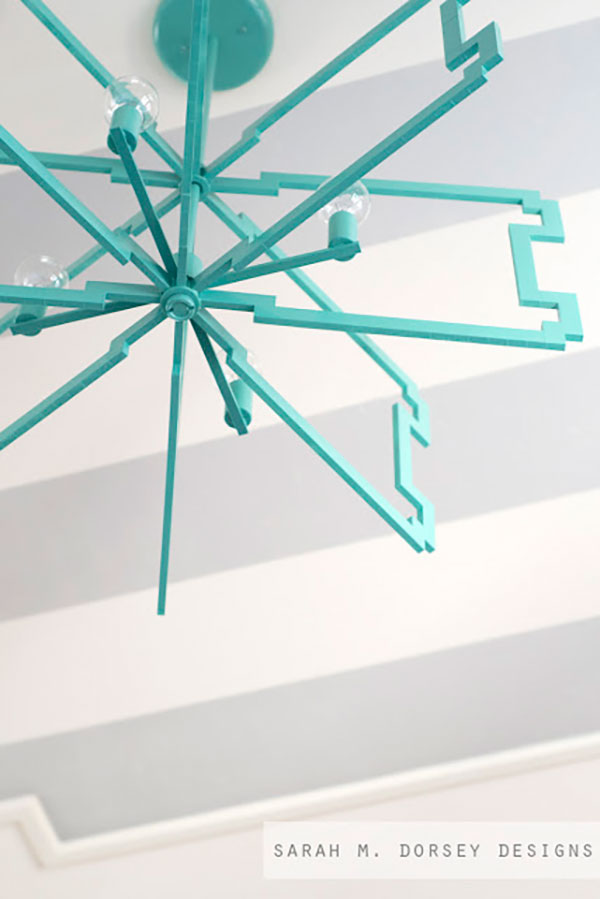
Success! It works!

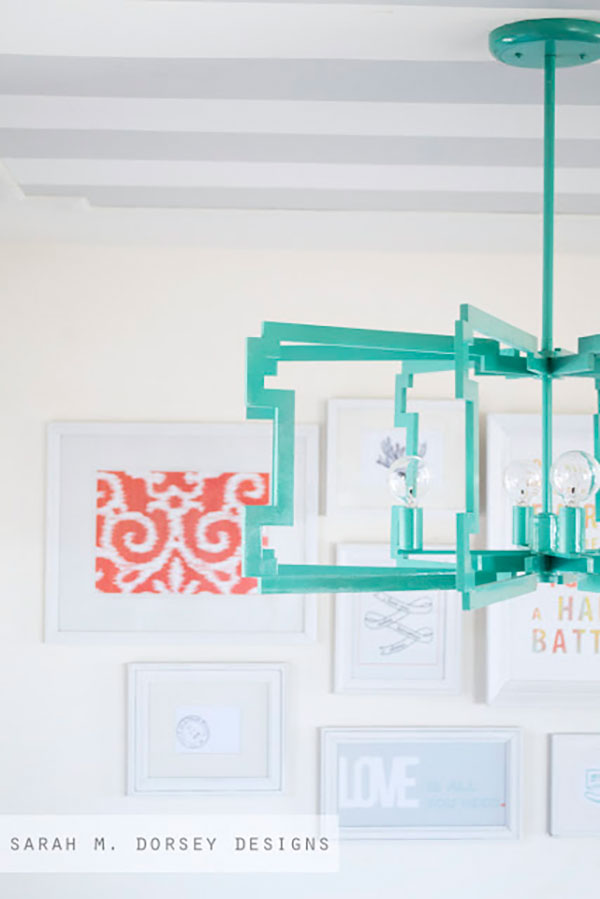
We also installed trim and painted 8″ stripes on the ceiling to frame the fixture.
And a gallery wall with a few fun prints, paintings, and some fabric mixed in!
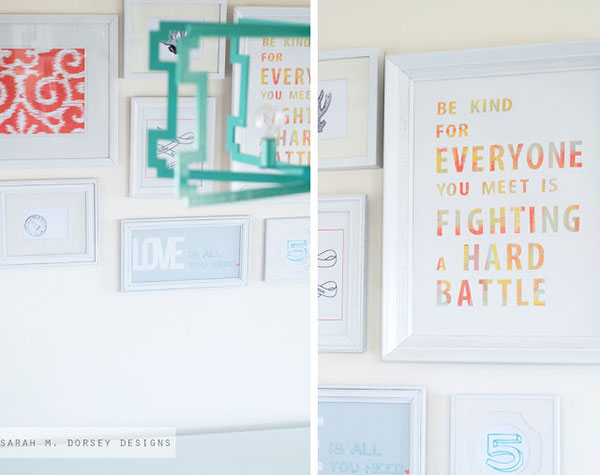
I love this fun addition to our office area!
Here’s the price breakdown:
- (2) Fluorescent diffusers: $4 (Habitat ReStore)
- Plaster of Paris: $5 (with coupon at Michaels)
- Gorilla Glue Epoxy: $5
- Chandelier: $5 (Habitat ReStore)
- PVC parts: ~$3 (Home Depot)
- Brass parts: ~$10 (Ace Hardware)
Total = $32
Not bad for a statement piece! So next time you see a plastic diffuser don’t just pass it by, think about what you can create with it!
Christine is the Content Marketing Coordinator for Homes.com. She's a small town girl at heart, who currently lives in Norfolk, VA with her husband and their fur baby. When she's not working, she enjoys cooking, decorating, traveling, and binge watching Netflix. As a proud Virginia Tech alum, she also loves cheering on the Hokies!