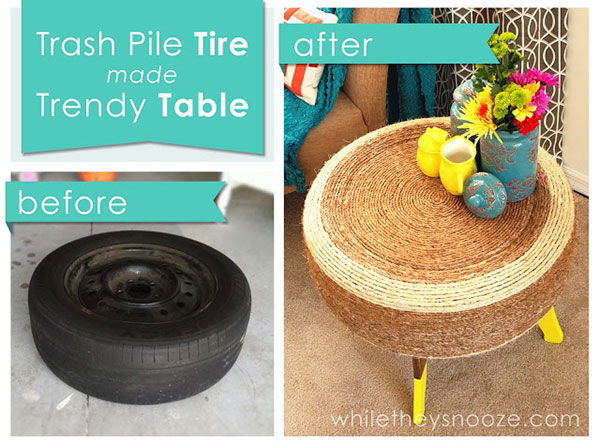
We’re bringing you another creative winning project from the Creating with the Stars promotion Homes.com was honored to sponsor. We love how Sarah, from While They Snooze, used an everyday item to create something spectacular for the up-cycle theme. Who would have thought an ugly tire could become such a beautiful table! See how she made this statement home decor piece:
Supplies:
- Old tire – Mine still had the rim… it will still work if it doesn’t.
- Plywood – One circle for the base and one for the top. My plywood is 1/2″ thick.
- Legs – Get creative! I used wood but you could use an upside down flower pot, metal, or buy pre-made legs from Ikea. This tutorial will show you how to make wood legs.
- Rope – to disguise the tire. I used 350 feet (yikes!) of 1/4″ sisal and manila rope sold in little bags at Home Depot.
- Glue/Screws/hardware to attach the legs – This will vary depending on what legs you get.
- Construction Adhesive – To glue the tire to the base and the rope to the tire. I used Liquid Nails.
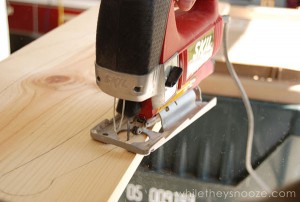
- Basic tools – This will vary depending on what your base is made from. I used a jig saw to cut the circles. A chop saw, table saw, and jig saw the cut the legs. Drill to attach the legs.
-
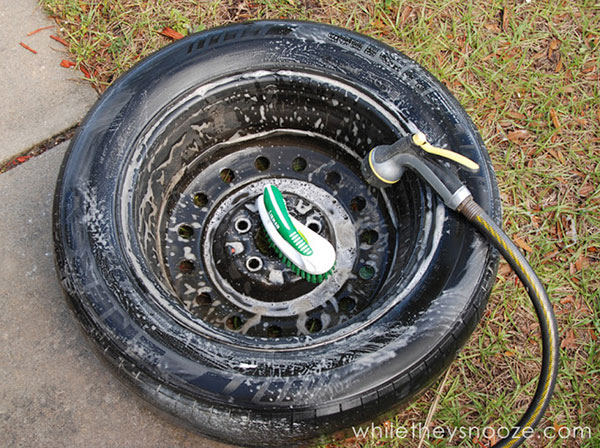
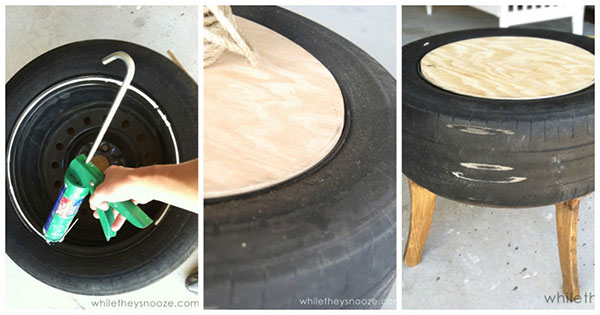
Scrub your tire.
Chances are it’s going to be really grimy. Give it a scrub with some dish soap to cut the grease. This will also help your adhesive stick better. Let it dry.

-
Cut out two plywood circles.
First circle should fit in the center of your tire to make a flat surface to form the table top. I measured, then nailed a piece of string into the center of my plywood, attached a pencil, and drew the circle. I had to sand the edges of the circle here and there to make it fit in the tire. The second circle is the base that the tire will sit on. Trace your tire and cut the circle one or two inches smaller than that.
-
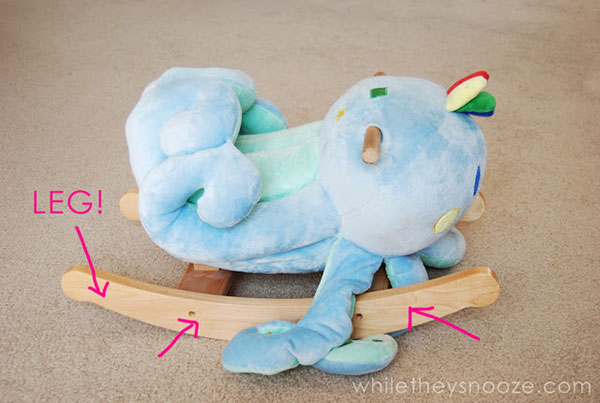
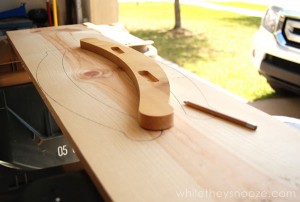
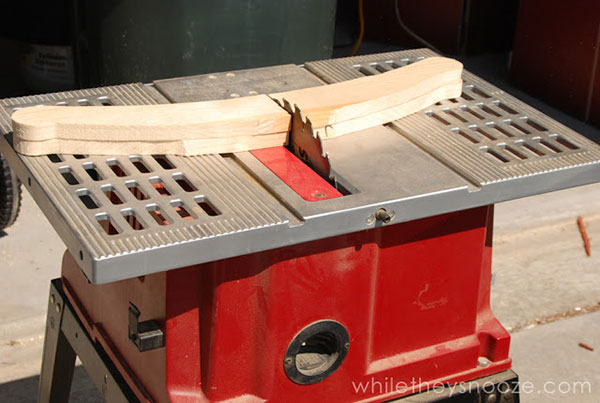
Cut out some legs.
Since this table will be replacing another table in my living room, I measured the height of that existing table. It was 20″. The tire is 9″ high, so I needed 11″ legs. Side tables vary in height though. They should work well with the seating they will be next to. So measure your tire and then figure out how high you need your legs.
I must confess, my husband came up with the idea of using the rocker slats from our rocking octopus, cut in half, for the legs.Since I didn’t want to destroy the octopus (poor Ollie!), we took them off, traced them onto some scrap pine from the garage, and cut them out. Trace and then cut out.
If you don’t have rocking octopus legs to trace, rectangles would be fine!Cut in half and sand smooth.
-
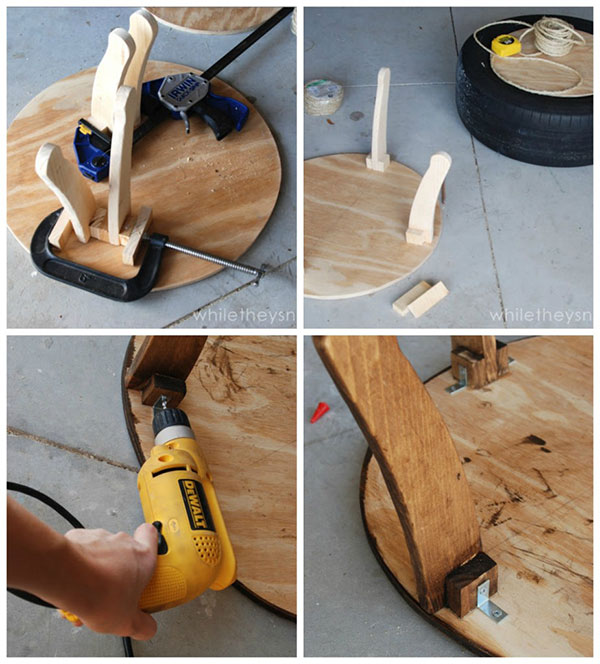
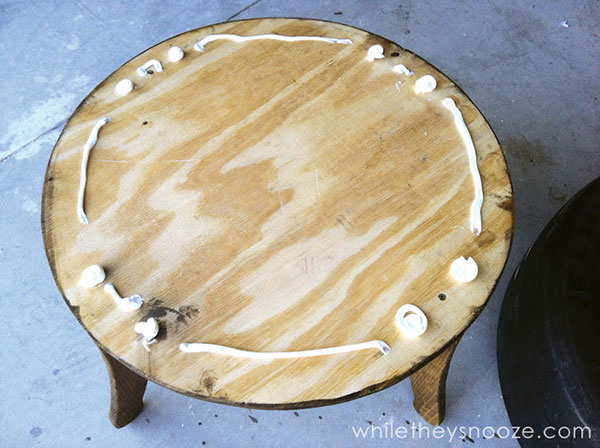
Assemble the legs.
Take your larger base circle and arrange the legs equally spaced around the perimeter. To make the table a little more sturdy, I cut some small blocks from the scrap pine to use as supports for the legs. I glued the blocks to the legs with wood glue and clamped overnight. Once they were dry, I glued them to the wood circle, attached L brackets, and put a screw in through the top of the wood.
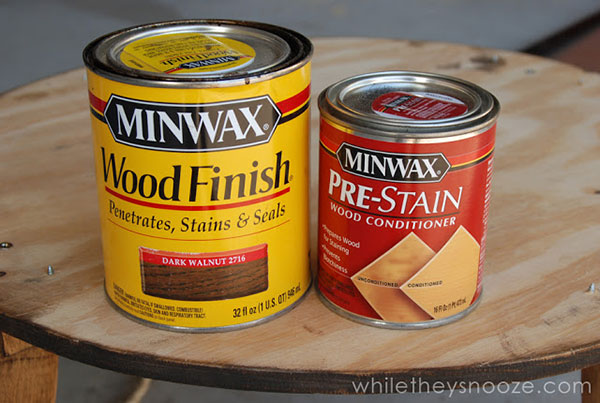
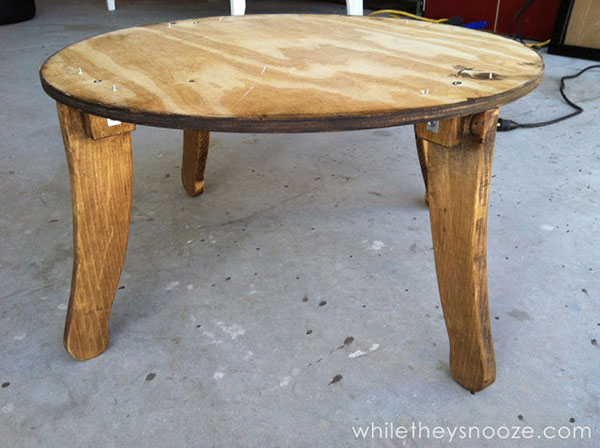
At this point I stained the legs and the rim of the base circle. However, they didn’t turn out that great. I’ll fix that in a minute.
-
Glue tire to base.
Once the legs are secure and dry, flip the base over, apply generous blobs of construction adhesive, and set your tire in the center.
-
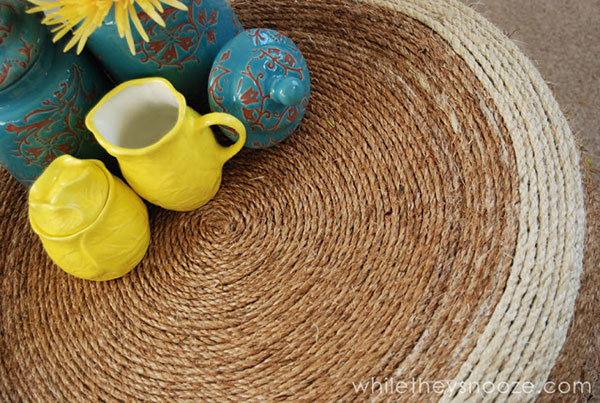
Glue smaller circle to top of tire.
The smaller circle should fit slightly inside the inner curve of the tire so when it’s in place, the whole surface is flat… or close to flat. Since my tire has the rim, I just glued to that.
-
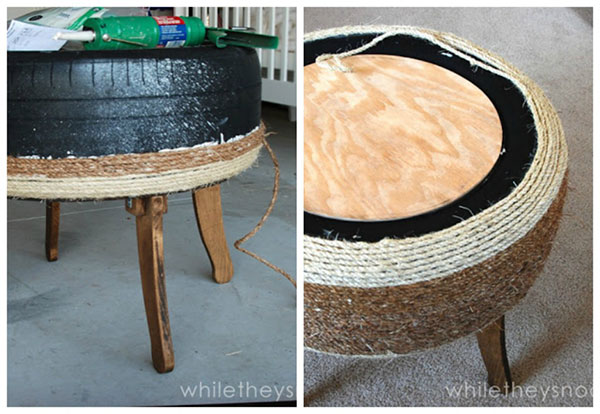
Glue rope to tire.
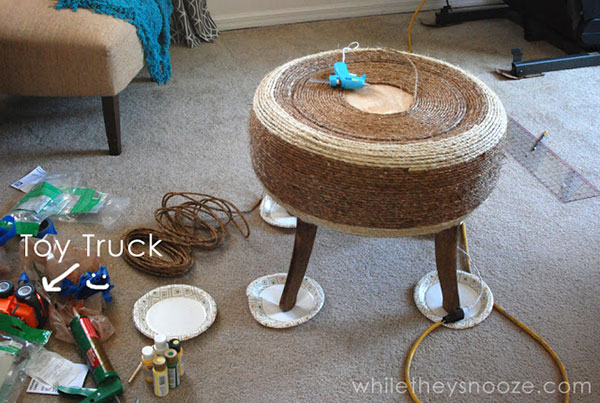
Attention: hot glue does not stick to tires, just in case you were considering it. I tried… no go. Stick with the liquid nails. Bonus: Liquid nails is the same color as rope. Some of it bled through. You can’t even tell. Turn the table over, start around the base, and work your way to the top of the table.
Keep going! Once you get around the lip it’s easier if you flip it back over. I used a combination of sisal rope (the lighter color) annatural manila rope (the dark color). Both are sold in 50′ sections at Home Depot.
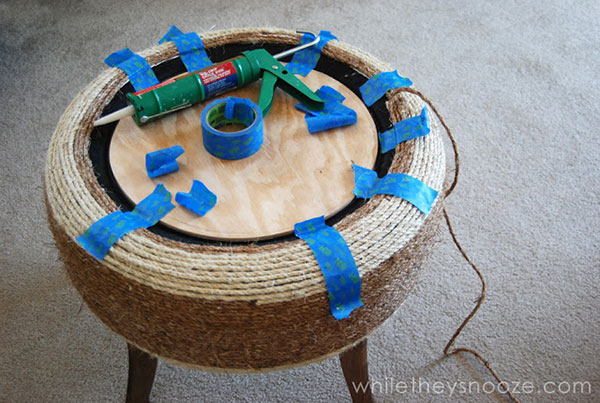
Once you get to the top rim it gets tricky. The rope kept wanting to pop off so I had to keep it taped down with painter’s tape as I went until the adhesive dried.
Then, when I hit the plywood, I switched to hot glue. Much easier! (Does anyone else have toys mixed in with their projects?)
-
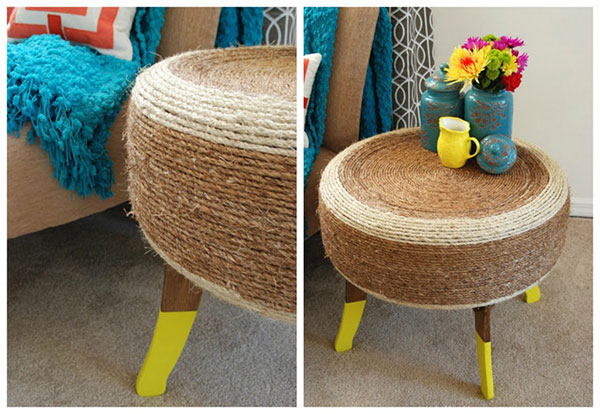
Paint the legs.
Remember how the stain on the legs came out kind of meh? Sarah from Thrifty Decor Chick had the great idea to “dip” them. Basically, I painted the bottom half of the legs bright citrus yellow. Not meh anymore!


And that’s it. You can put the rope down. You’re done. I can’t wait to have people over and see if anyone knows it’s an up-cycled tire!
Are you now inspired to go up-cycle a tire or other item in your home? What up-cycle project have you completed that you are proud of? We’d love to get more ideas on how to make everyday items beautiful home decor.
Christine is the Content Marketing Coordinator for Homes.com. She's a small town girl at heart, who currently lives in Norfolk, VA with her husband and their fur baby. When she's not working, she enjoys cooking, decorating, traveling, and binge watching Netflix. As a proud Virginia Tech alum, she also loves cheering on the Hokies!