We’re bringing you another winning project from the Crafting with the Stars promotion that was hosted on East Coast Creative. The theme for this project was paint and we absolutely love this creation from Love & Renovations. Check out how you can create a similar project for your own home with this step by step tutorial:
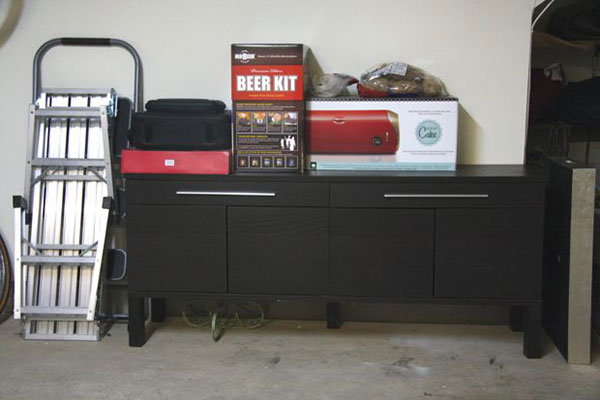
We had this Bjursta sideboard from Ikea in our garage for weeks and figured it could live there when we convert it into a family room:
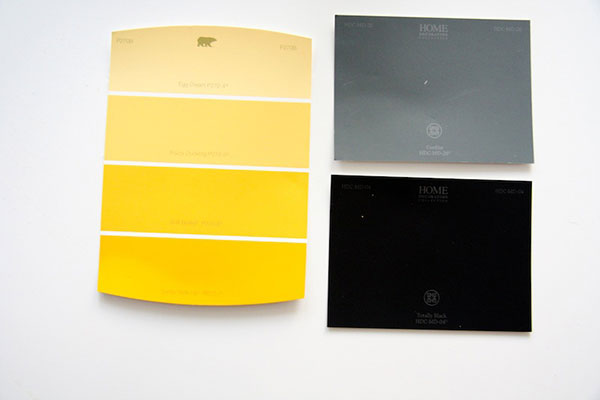
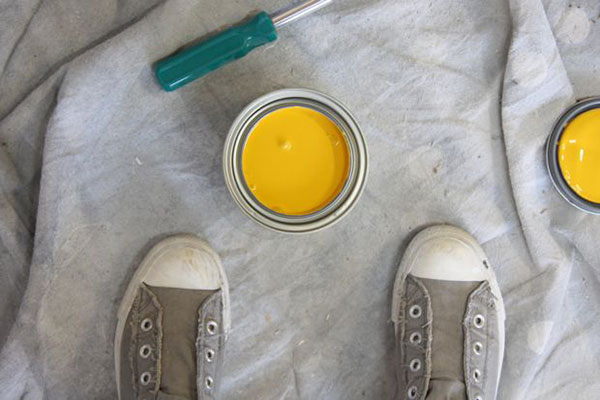
After a brainstorming session one night, we came up with a plan – we were going to up-cycle the dresser and set it up in a high-contrast room. The goal was punchy, modern, and fun. After some debate, we landed on this color palette:
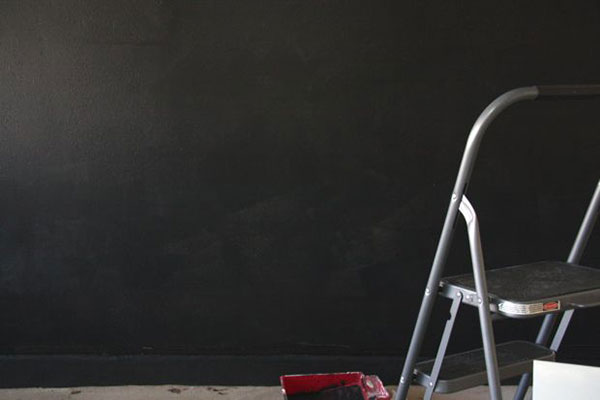
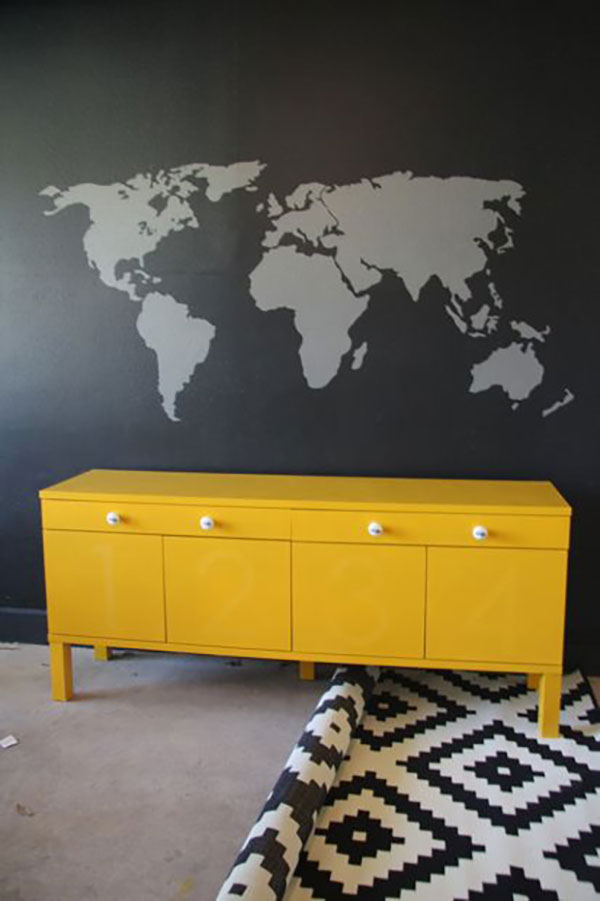
We started off with a black wall…
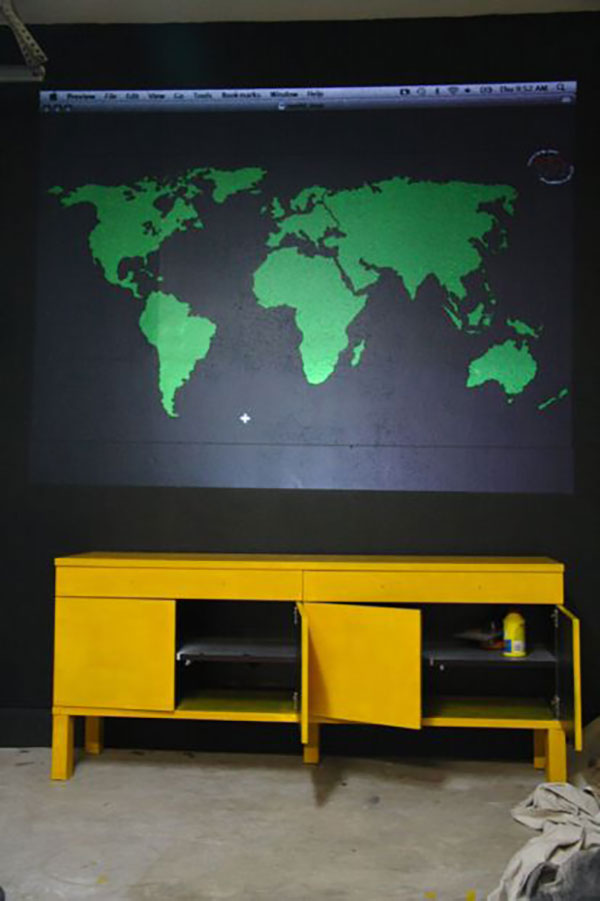
On the walls, we chose to paint a world map on it. We pulled up a good map online and used our projector to get it up on the wall. You can use this idea to create almost any wall mural.
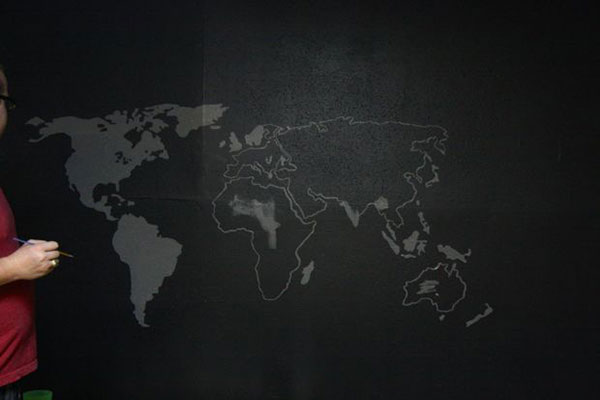
Getting the map painted was surprisingly quick – we just used some small paintbrushes and to outlined larger ones to fill in. It took about an hour and a half from start to finish, which is way better than we expected.
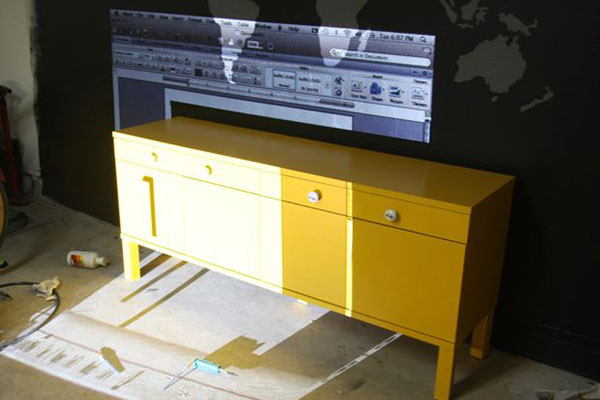
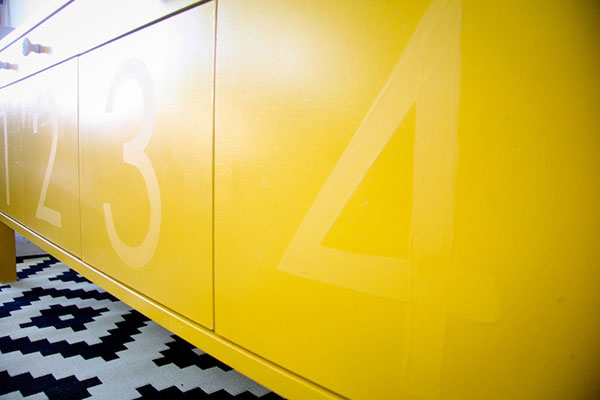
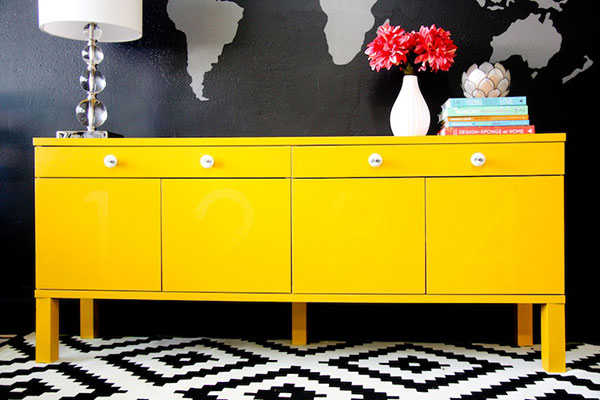
Once everything was all finished and dry, we decided the sideboard needed a little something extra. So we grabbed some paint in the same color but a different finish (the main part is high gloss, the details are flat), and used the projector again to add some numbers. It’s a super subtle detail, but we love that about it – when you’re looking from straight on, the map is totally the star. But if you shift yourself a little to either side, the numbers suddenly jump out at you.
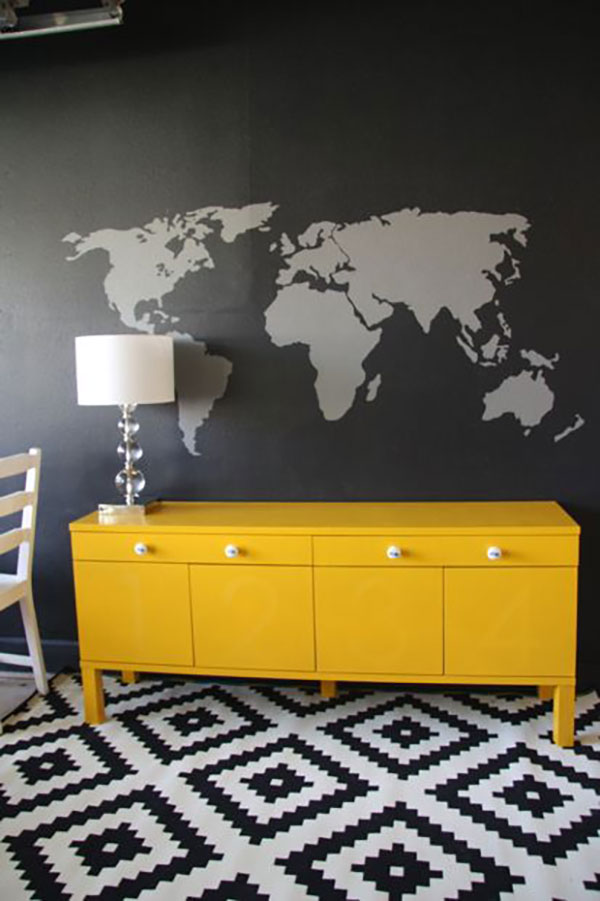
After the numbers were finished, it was just time to style! We added an Ikea rug to add some pattern..
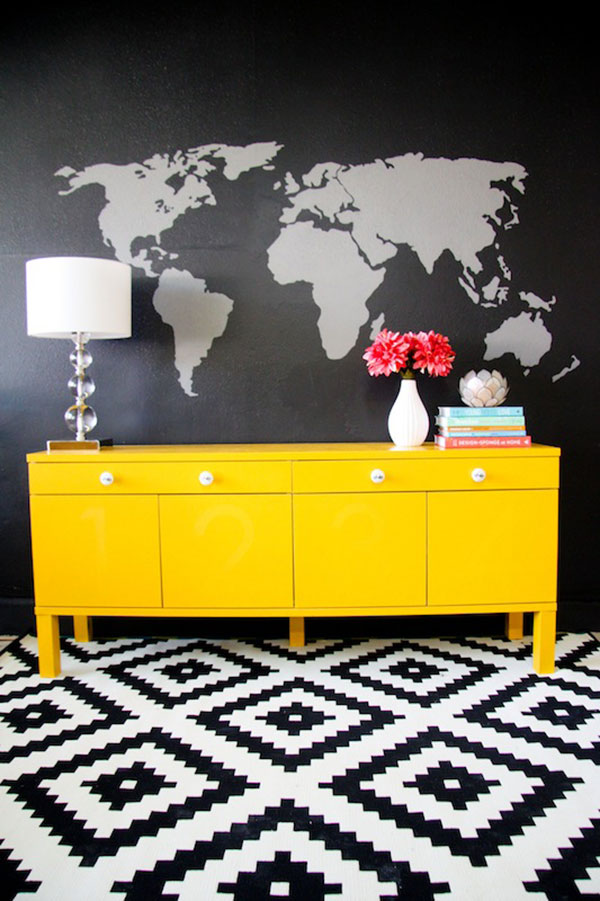
And it looks a little something like this:

Christine is the Content Marketing Coordinator for Homes.com. She's a small town girl at heart, who currently lives in Norfolk, VA with her husband and their fur baby. When she's not working, she enjoys cooking, decorating, traveling, and binge watching Netflix. As a proud Virginia Tech alum, she also loves cheering on the Hokies!