For the month of June I’ll be sharing a few helpful home and decor DIY tutorials. I wanted to start out with something that we get asked about a lot on our site… our Board and Batten accent wall in our daughters room. Follow along with photos and a step by step tutorial below, to find out how simple this wall treatment really is!

When we moved our daughter into her very tiny room a few years ago, we knew we needed to spruce up the space a bit and give it some personality. We’ve always been big fans of wall molding, so we decided that a focal wall with a tall, dramatic board and batten treatment would do the trick!

We started off by picking out our lumber. We wanted boards that were fairly thin, so we went with some inexpensive cleating material, made out of MDF. (usually a wood used as support pieces for closets and pantry’s) This isn’t typically what you’d use for a board and batten wall, but it was really inexpensive, and it worked great!

As you can see, all we did was cut our boards at the desired length we wanted, about 6 feet, and then used some liquid glue and small nails to adhere them to the wall at equal lengths apart. Our walls are not heavily textured, so placing the boards directly on the wall worked really well. If your walls DO have more texture to them, and you want your board and batten to have a flawless backing, then you’ll need to cover your space with a thin board of MDF first.

After our boards were all up we used a 6 inch primed MDF board to trim out the top of the board and batten to give it a finished look.

We then used quick dry nail filler to fill the holes in the boards, sanded them smooth, and primed the wall and boards with two coats of paint.


After the primer was dry, we used some paintable caulk around the edges of all the gaps where the boards met, to give the wall a seamless look. Then we used a bright white semi-gloss paint and did one last finishing layer on the board and batten treatment.
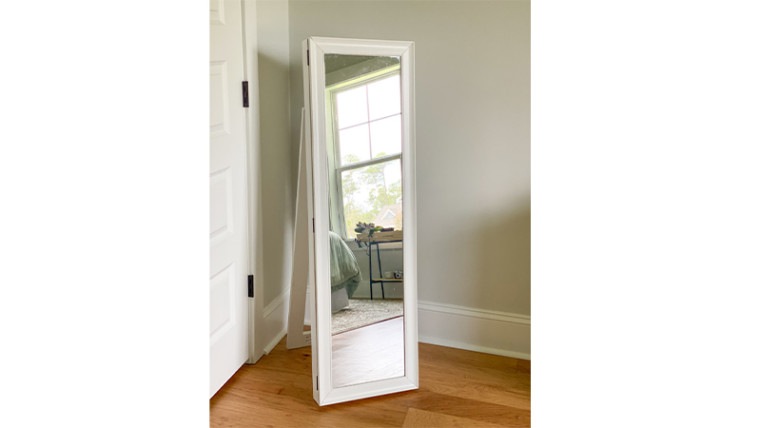
A lot of people ask us about how to add decor to the board and batten. Simple! Just treat it like any other wall. You can add a light, frames, a mirror, etc… Anything that you add will just look even MORE awesome, because of the board and batten texture behind it!

We also get asked about what it looks like where the boards meet the baseboard on the wall, and as you can see here, they DO hang over, just a bit. It’s virtually unnoticeable, so we decided to just leave the 1/4 inch of hangover… but if you want to eliminate that, you can shave down the board a bit and put an angle on it, so it’s thinner at the bottom.


This wall treatment is SO easy, really fast, and can make a big impact in a room! Once you’ve got the technique down, you can get creative with your simple wall molding designs too! Here are some other inventive ways to add a little personality to your space with board and batten.

You can also catch a lot more of our DIY home projects and tutorials on our site