Homes.com had the honor of sponsoring the Creating with the Stars contest on East Coast Creative. We were overwhelmed with the creativity contestants showed with their entry submissions. Over the next few weeks we’ll be featuring the winning projects along with how the contestant completed the project.
Today we’re featuring this unique wood tile dresser by Amanda and Corey from Love and Renovations. See how they created this creative dresser and how you could create it for your home decor.


Supplies Needed:
- An antique dresser
- Scrap 1×4 wood – we used maybe one board total
- White paint and gray paint
- Gorilla glue (or any wood glue you like)
- 3/4″ dowel rods (for drawer pulls)
- 1/2″ dowel rod (for drawer pulls)
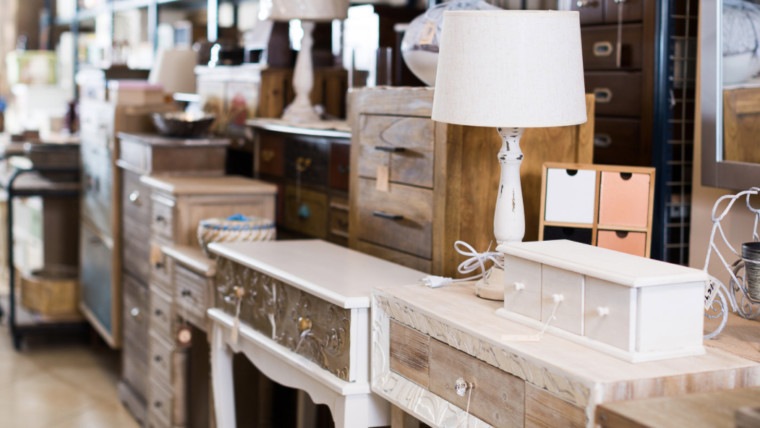
We started off with this beautiful antique dresser that we found at a local flea market. We loved the clean lines, the tall frame, and (of course!) those casters. It was the perfect fit for our home decor style.

The first step was figuring out how to inset the drawers a bit so that when we added the wood tiles they wouldn’t stick out. Our original plan was to just move the drawer slides back a few inches in the dresser, which would hopefully make the drawers sit the way we wanted them, but thankfully it was an even easier fix than that with this particular dresser – there were little metal pieces on the inside of the drawers that stopped them from going all the way in. All we had to do was pull those out and make some new stoppers with some little dowel rods and we were good to go.


Next up was cutting all of our wood tiles. Let me warn you – this project isn’t for the faint of heart… it took forever! But, I think the end result is totally worth it. For the tiles, we took a few 1×4 boards that we had already laying around and cut them down to 1/4″ thick tiles. It was the quickest way we could think of to do it, and it also meant that the end-grain of the wood would be showing, which added some fun texture. It was a pretty quick job to cut the tiles – we just used a chop saw with a piece of wood clamped to it to make sure all of the tiles were the same size. Our stack quickly grew, and soon enough we had a giant pile of wood tiles.


Once they were all cut, we gave them a quick whitewash. I wanted a bit of variety within the tiles, so we did a whitewash on some of them and a gray wash on others. It was a subtle difference, but it makes the end product look a bit more random and varied, which I like.

Once our tiles were all dried and ready to go, it was time to attach them to the drawers. We didn’t want to nail them in because then we’d have a billion different nail holes to fill, so we just used some wood glue. We glued them on in a subway pattern and then clamped a board to the drawer while it dried to ensure they all stuck. As the tiles got wet with the glue, some of them started to bow, so clamping it down also kept that to a minimum. We let it all dry together for about 12 hours (just to be sure!) then removed the clamps, sanded down the edges, and that was all there was to it!


The last step was creating the drawer pulls – we knew we wanted ones similar to the inspiration piece, but we also knew that actually finding and buying those pulls would be challenging so, we decided to make our own! We bought a 3/4″ dowel, drilled two holes in the back, and inserted a small, 1/2″ dowel piece . We then spray painted the whole thing with some oil-rubbed bronze spray paint, and screwed them in!


Once we put it all together, it looked a little something like this:


Now you can create your own version of West Elm’s wood-tiled dresser – and for under $200!
Christine is the Content Marketing Coordinator for Homes.com. She's a small town girl at heart, who currently lives in Norfolk, VA with her husband and their fur baby. When she's not working, she enjoys cooking, decorating, traveling, and binge watching Netflix. As a proud Virginia Tech alum, she also loves cheering on the Hokies!