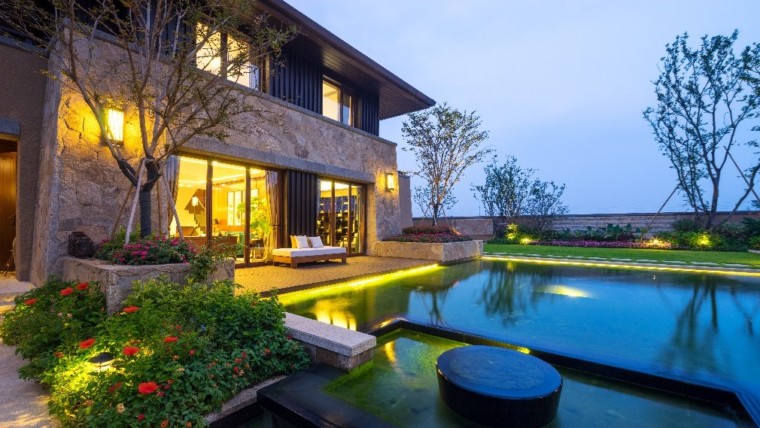
When it comes to listing a home, there are few things more important than having beautiful photos that will make a lasting impression on potential buyers. With so much of the home-purchasing process now done online, great photos will ensure that interested buyers step away from their computer screen and venture over to your home for a closer look. Dynamic photos are an essential marketing tool in the sale of any home, and implementing these six simple home-photographing tips will help your listing rise above the rest!
Tip 1: Get Involved
Although many real estate agents are very knowledgeable about how to capture great shots of a home, it never hurts for a home owner to get involved in the staging and executing of the photo shoot to ensure quality shots that will get your home noticed. A home owner’s intimate knowledge of a home’s ins and outs will result in meaningful photos that truly reflect a home’s unique personality! For an even more hands-on approach, home owners comfortable with photography should discuss with their agent the possibility of taking the photos for their home’s listing themselves.
Tip 2: Use Natural Light
Nothing can make or break a photo more than light, and when it comes to photographing a home, natural light is almost always preferable to artificial light. Aim to shoot photos of your home of a bright, sunny day, and let as much light in as possible through open windows, or even doors! Avoid using a camera flash at all costs, as this will fill your photos with unattractive shadows and stark, unnatural lighting.

Tip 3: Take Horizontal Shots
Most home-listing websites are optimized to display horizontal shots, so make sure photos are taken in this format. If necessary, stand on a chair or step ladder to capture a great shot and give prospective buyers the best possible view of a space. Horizontal photos give the viewer and much more comprehensive feel of what a space is like, as you can see in the photos of my son’s nursery below.
Although this shot of one portion of the room is great:

This one, which shows much more of the space, is even better:

Tip 4: Declutter
Busy, cluttered shots are overwhelming. Remove all but the most essential items from shelves, and arrange those that remain in an attractive way. Remove pieces of furniture that make a room feel closed off. (Consider renting a storage unit to provide a temporary home for these items.) Always have surfaces like bathroom counters free of unattractive, unnecessary items like toiletries. This is your chance to make a first impression, and mundane items like toothbrushes will take a buyer’s interest away from what really matters: the home itself!
Tip 5: Show the Flow of Home
A disjointed grouping of photos, no matter how well-shot they are, fails to provide potential buyers with a feel for the flow of a home. Shoot and share photos in a sequence that will show how one room in the home is related to the next. A great way to show a home’s flow is by including a recognizable object from one room (a piece of furniture, for example) in various shots, so buyers can get a feel for how spaces portrayed in different photos all relate to one another.
Tip 6: Add a Pop of Color
In every room, strive for at least one object that really pops with color to add personality to your home’s photos. Throw pillows and colorful throws are an inexpensive solution for adding color to living rooms and bedrooms, while vases or pitchers filled with bright flowers will liven up spaces like offices and kitchens.

No matter who is behind the camera, a home owner or an agent, today’s six simple home-photographing tips will help you achieve great, eye-catching photos that will ensure your listing stands apart from the crowd. Do you have any tips for achieving great home-listing photos? Feel free to share in the comments below!


